Stores
This guide will walk you through the process of adding a new store and configuring it in the app.
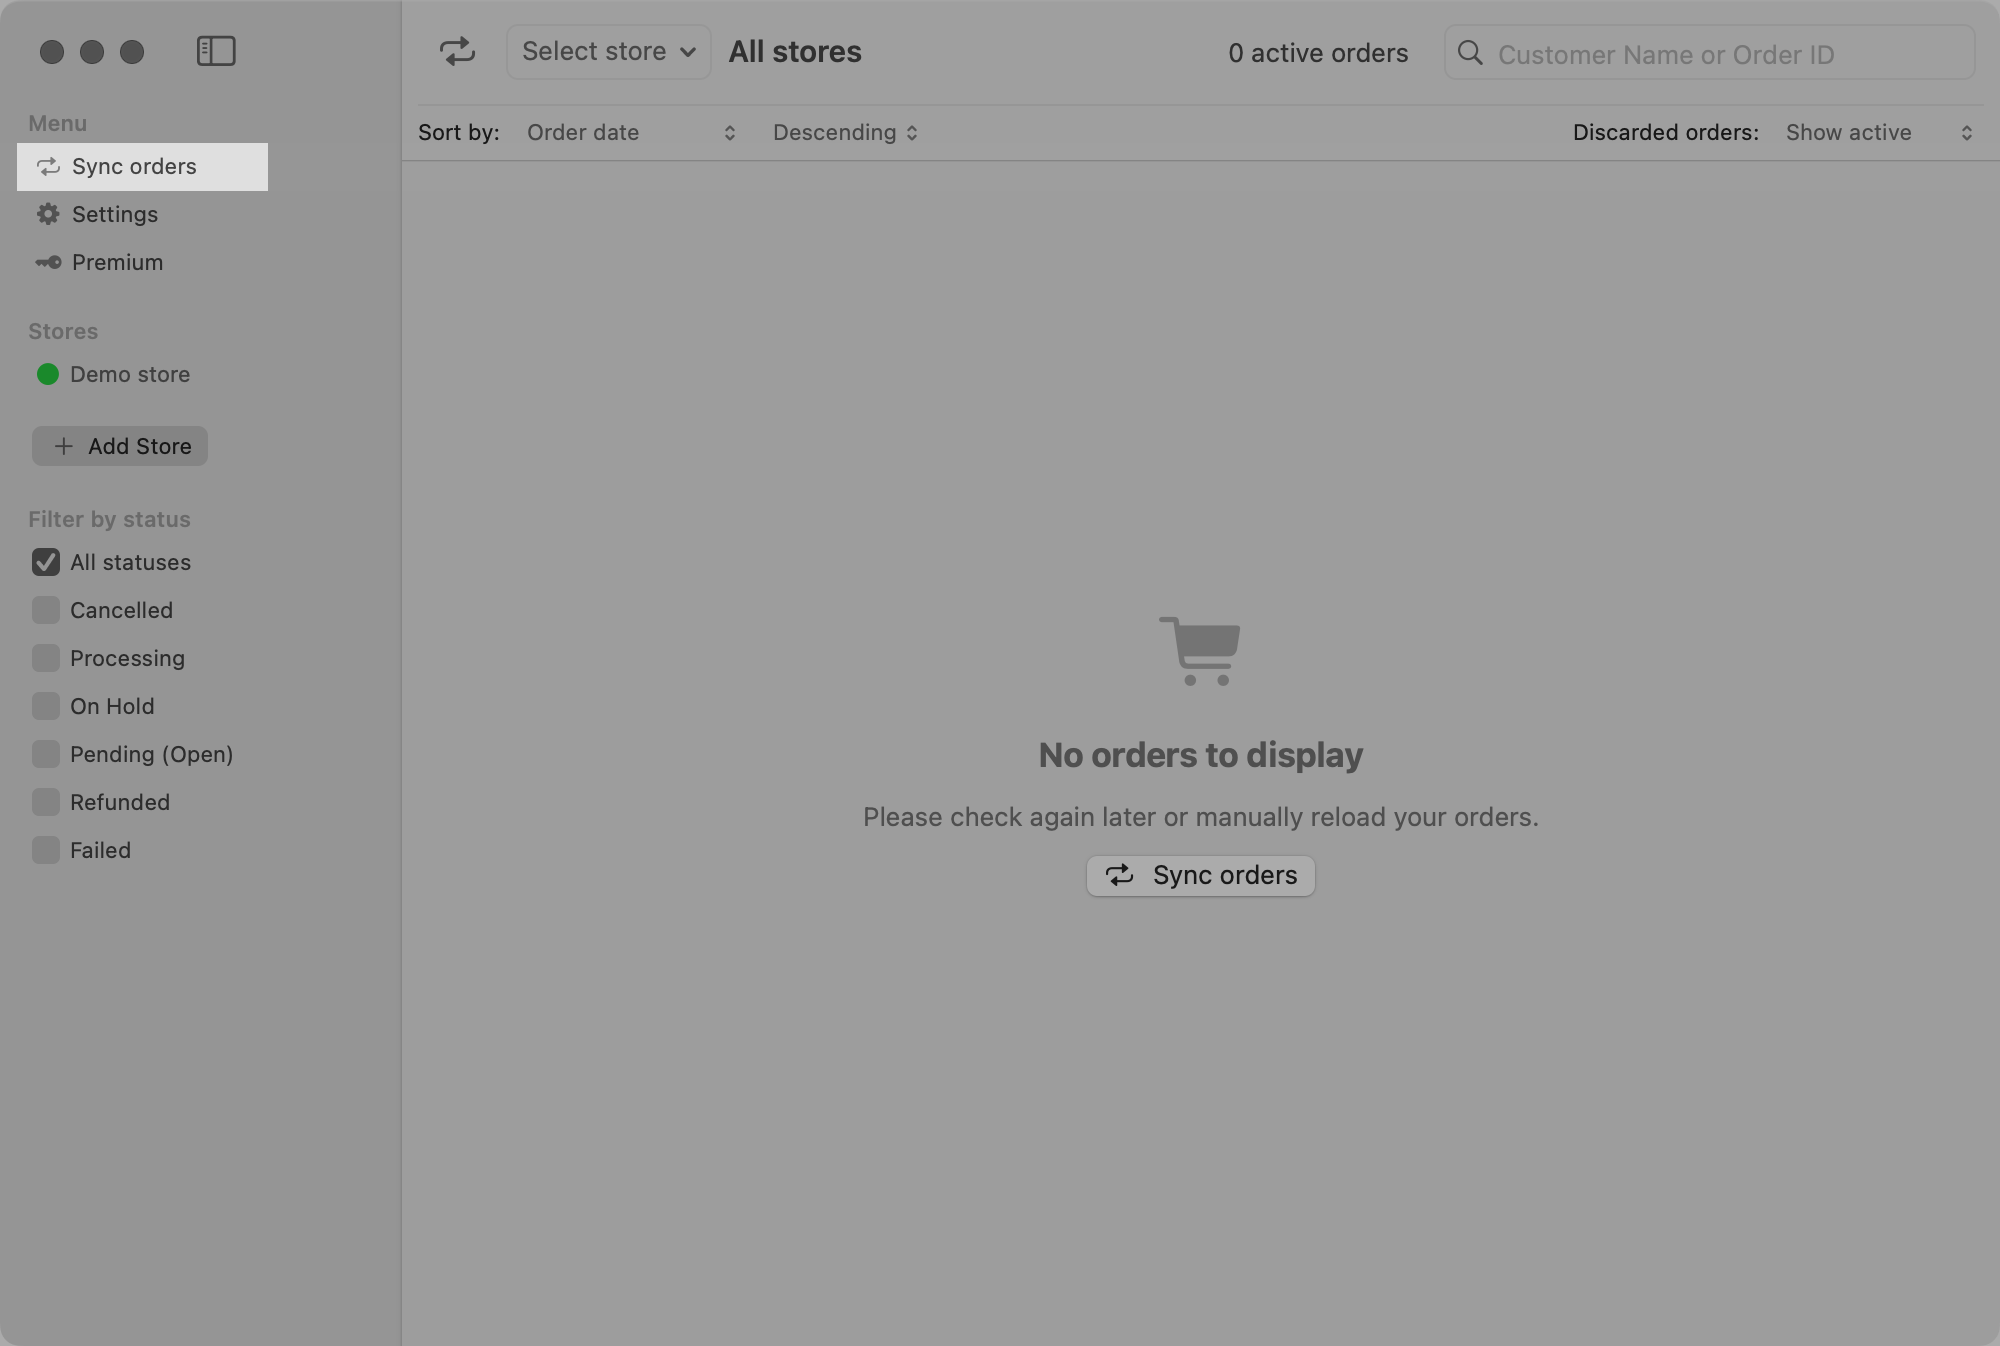
To connect the app to your store, click the “Add store” button in either the left sidebar or in the middle of the screen.
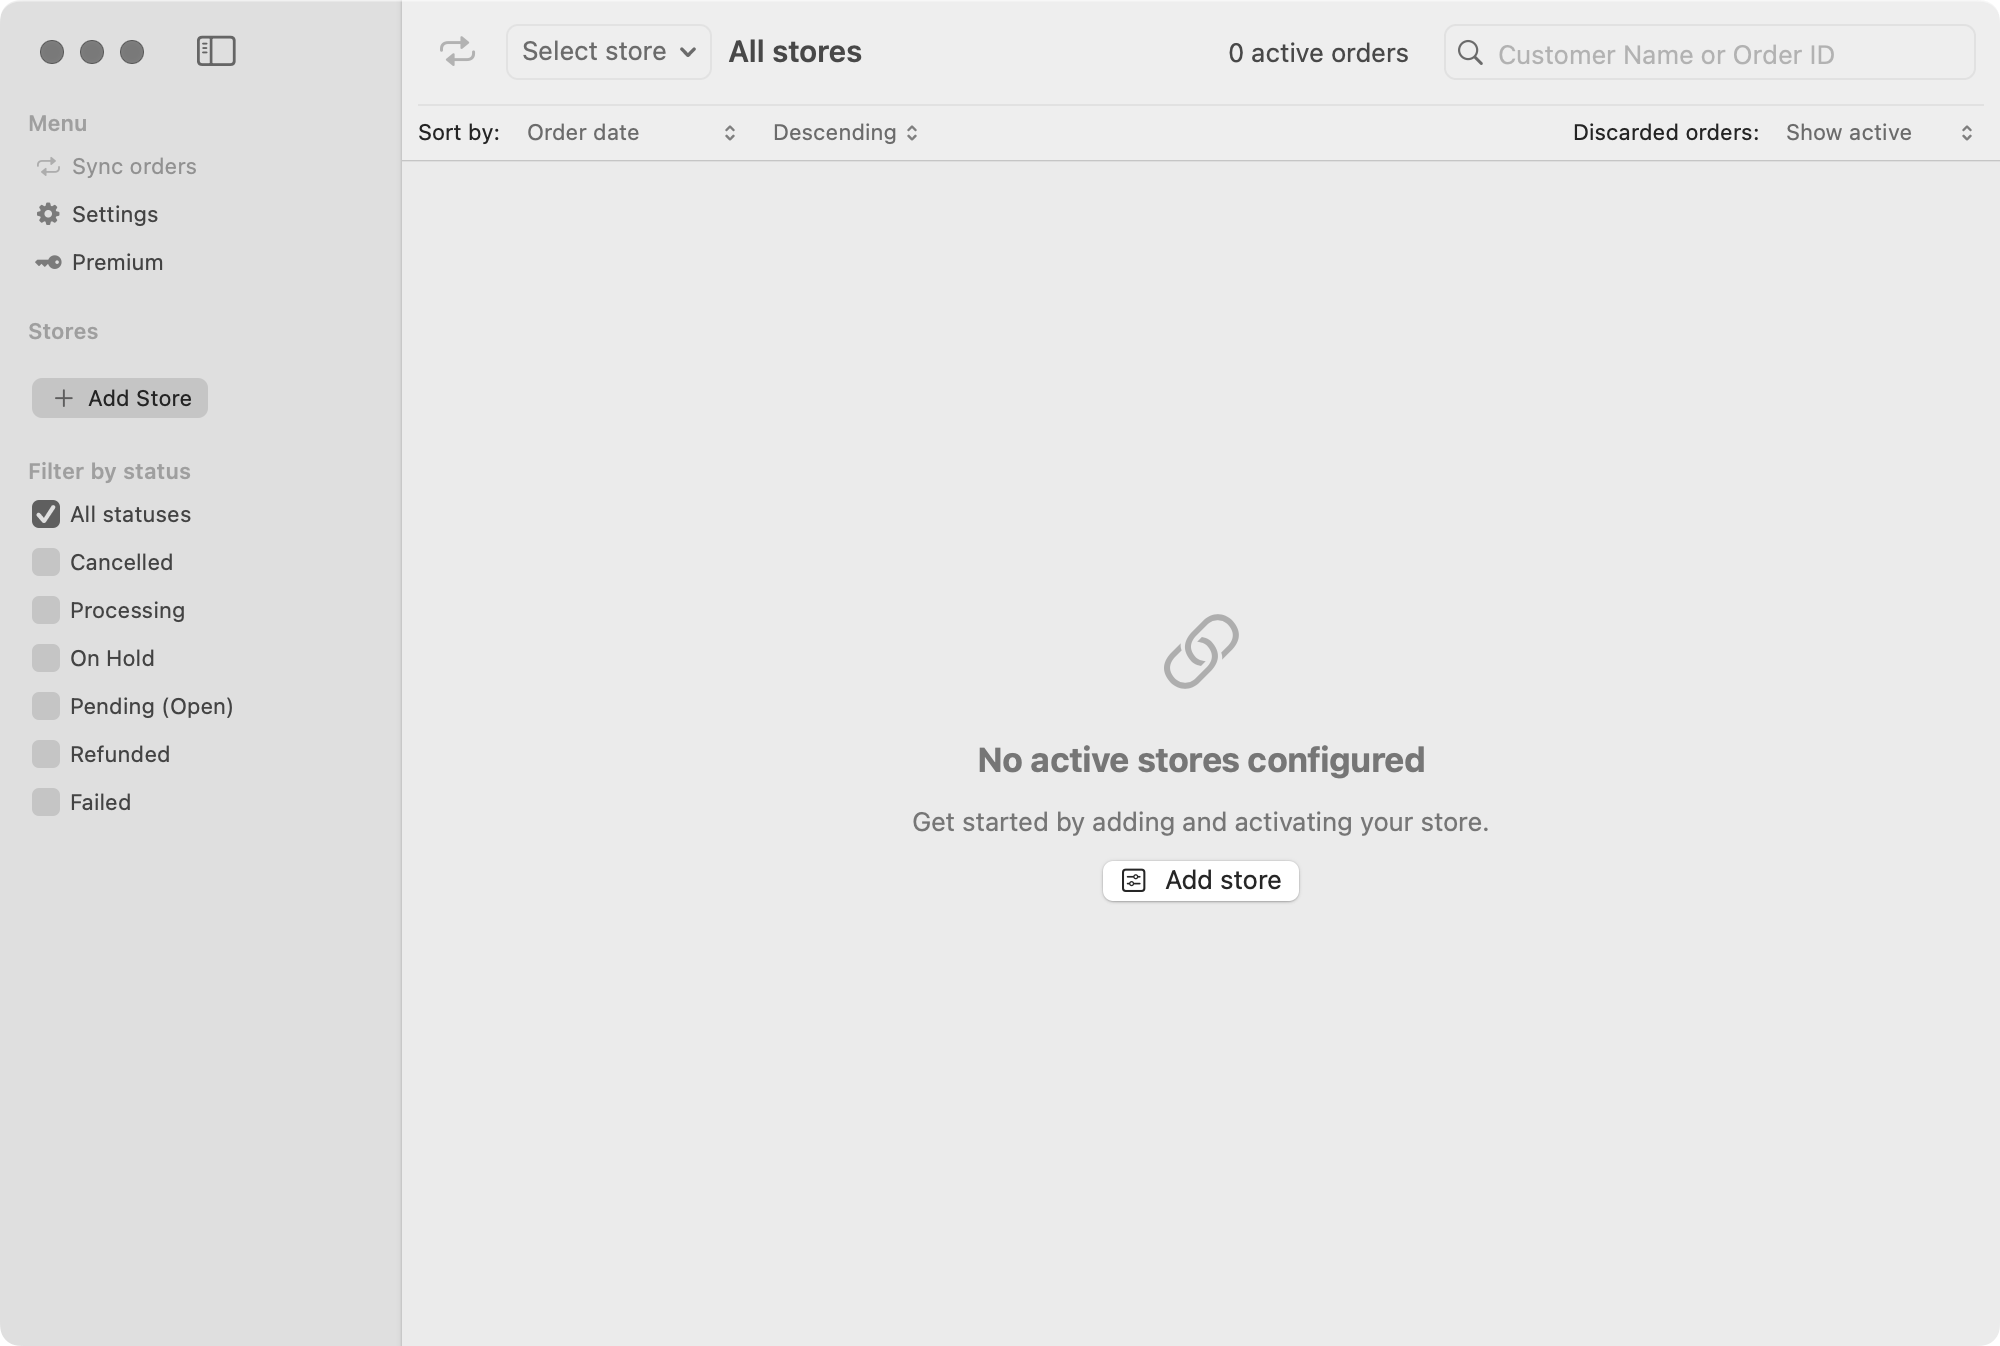
You should now see a new window with a few fields where you can enter your store information.
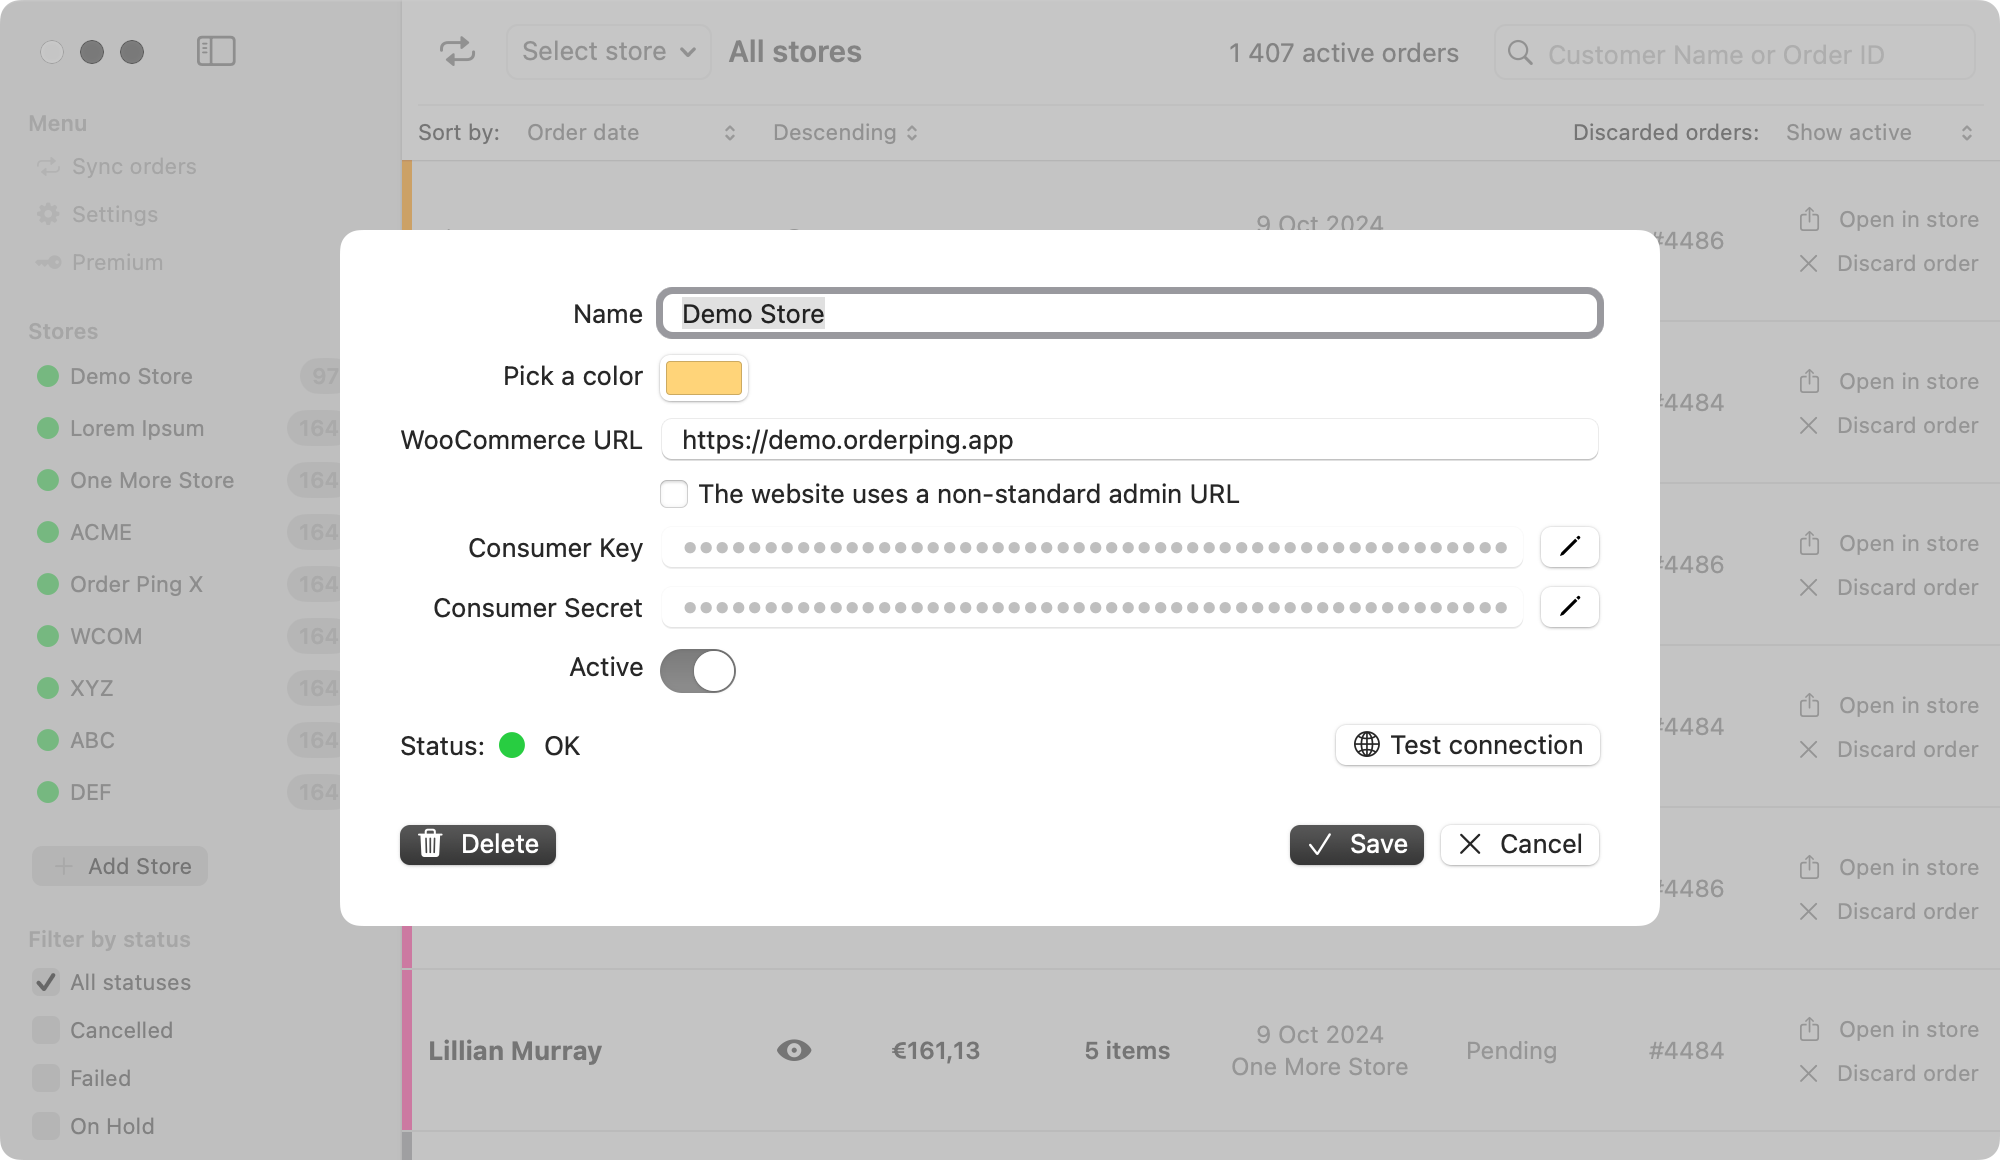
Store configuration
Name
Enter a name for your store, which may be whatever you like and does not have to be the store’s actual name. Its primary function is to be used inside the interface to help navigate through orders.
Color
As with the name field, you can also visually identify orders from several stores by using color and make the navigation more efficient.
WooCommerce URL
This field should include the full address of your WooCommerce store’s homepage (e.g., https://example.com).
The website uses a non-standard admin URL
In most instances, using this option is not required. However, if your website uses a non-standard admin URL, this option may be useful.
This might happen if you are using a security plugin that changes the standard “wp-admin” directory, which lets you login to the admin dashboard.
The Consumer Key & Secret
The Order Ping X app communicates with WooCommerce using a native REST API. To obtain your API credentials, login to your WordPress website and go to WooCommerce settings.
WooCommerce settings
The procedure of generating keys is straightforward and does not require any programming knowledge.
- Go to “WooCommerce > Settings”.
- Click on the “Advanced” tab.
- Select “REST API” from the horizontal sub-menu.
- Click the “Create an API Key” button.
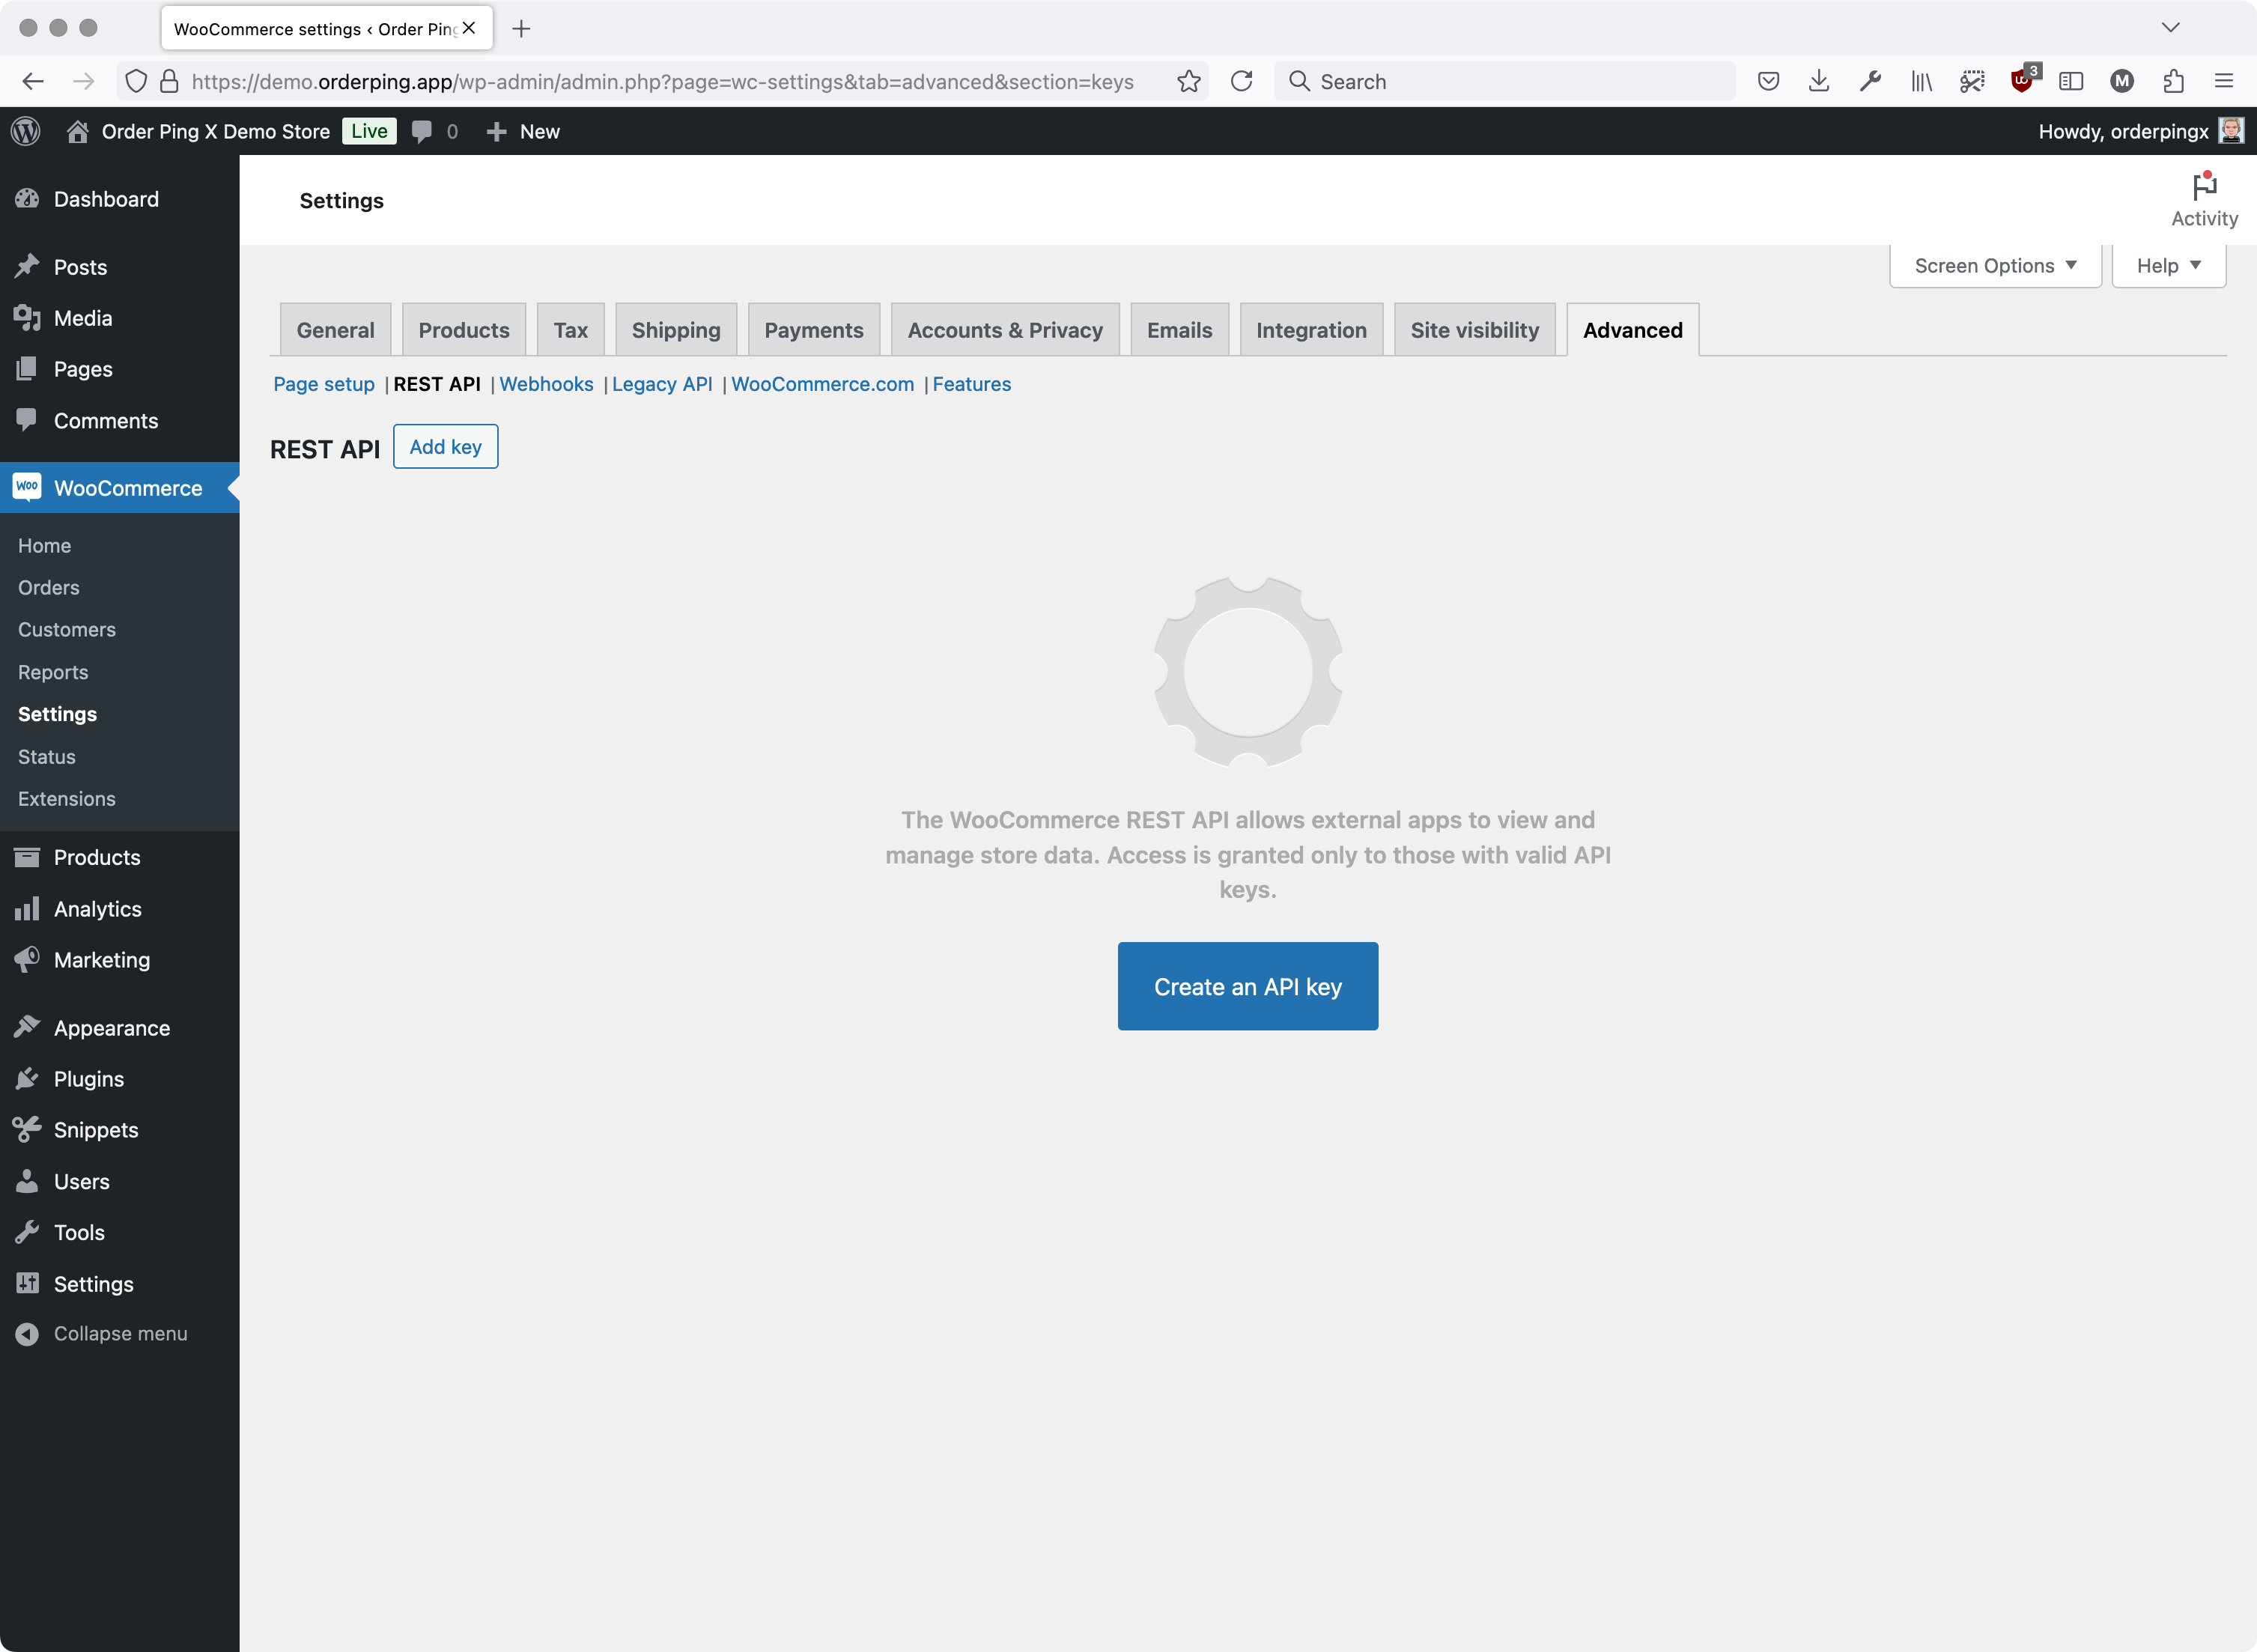
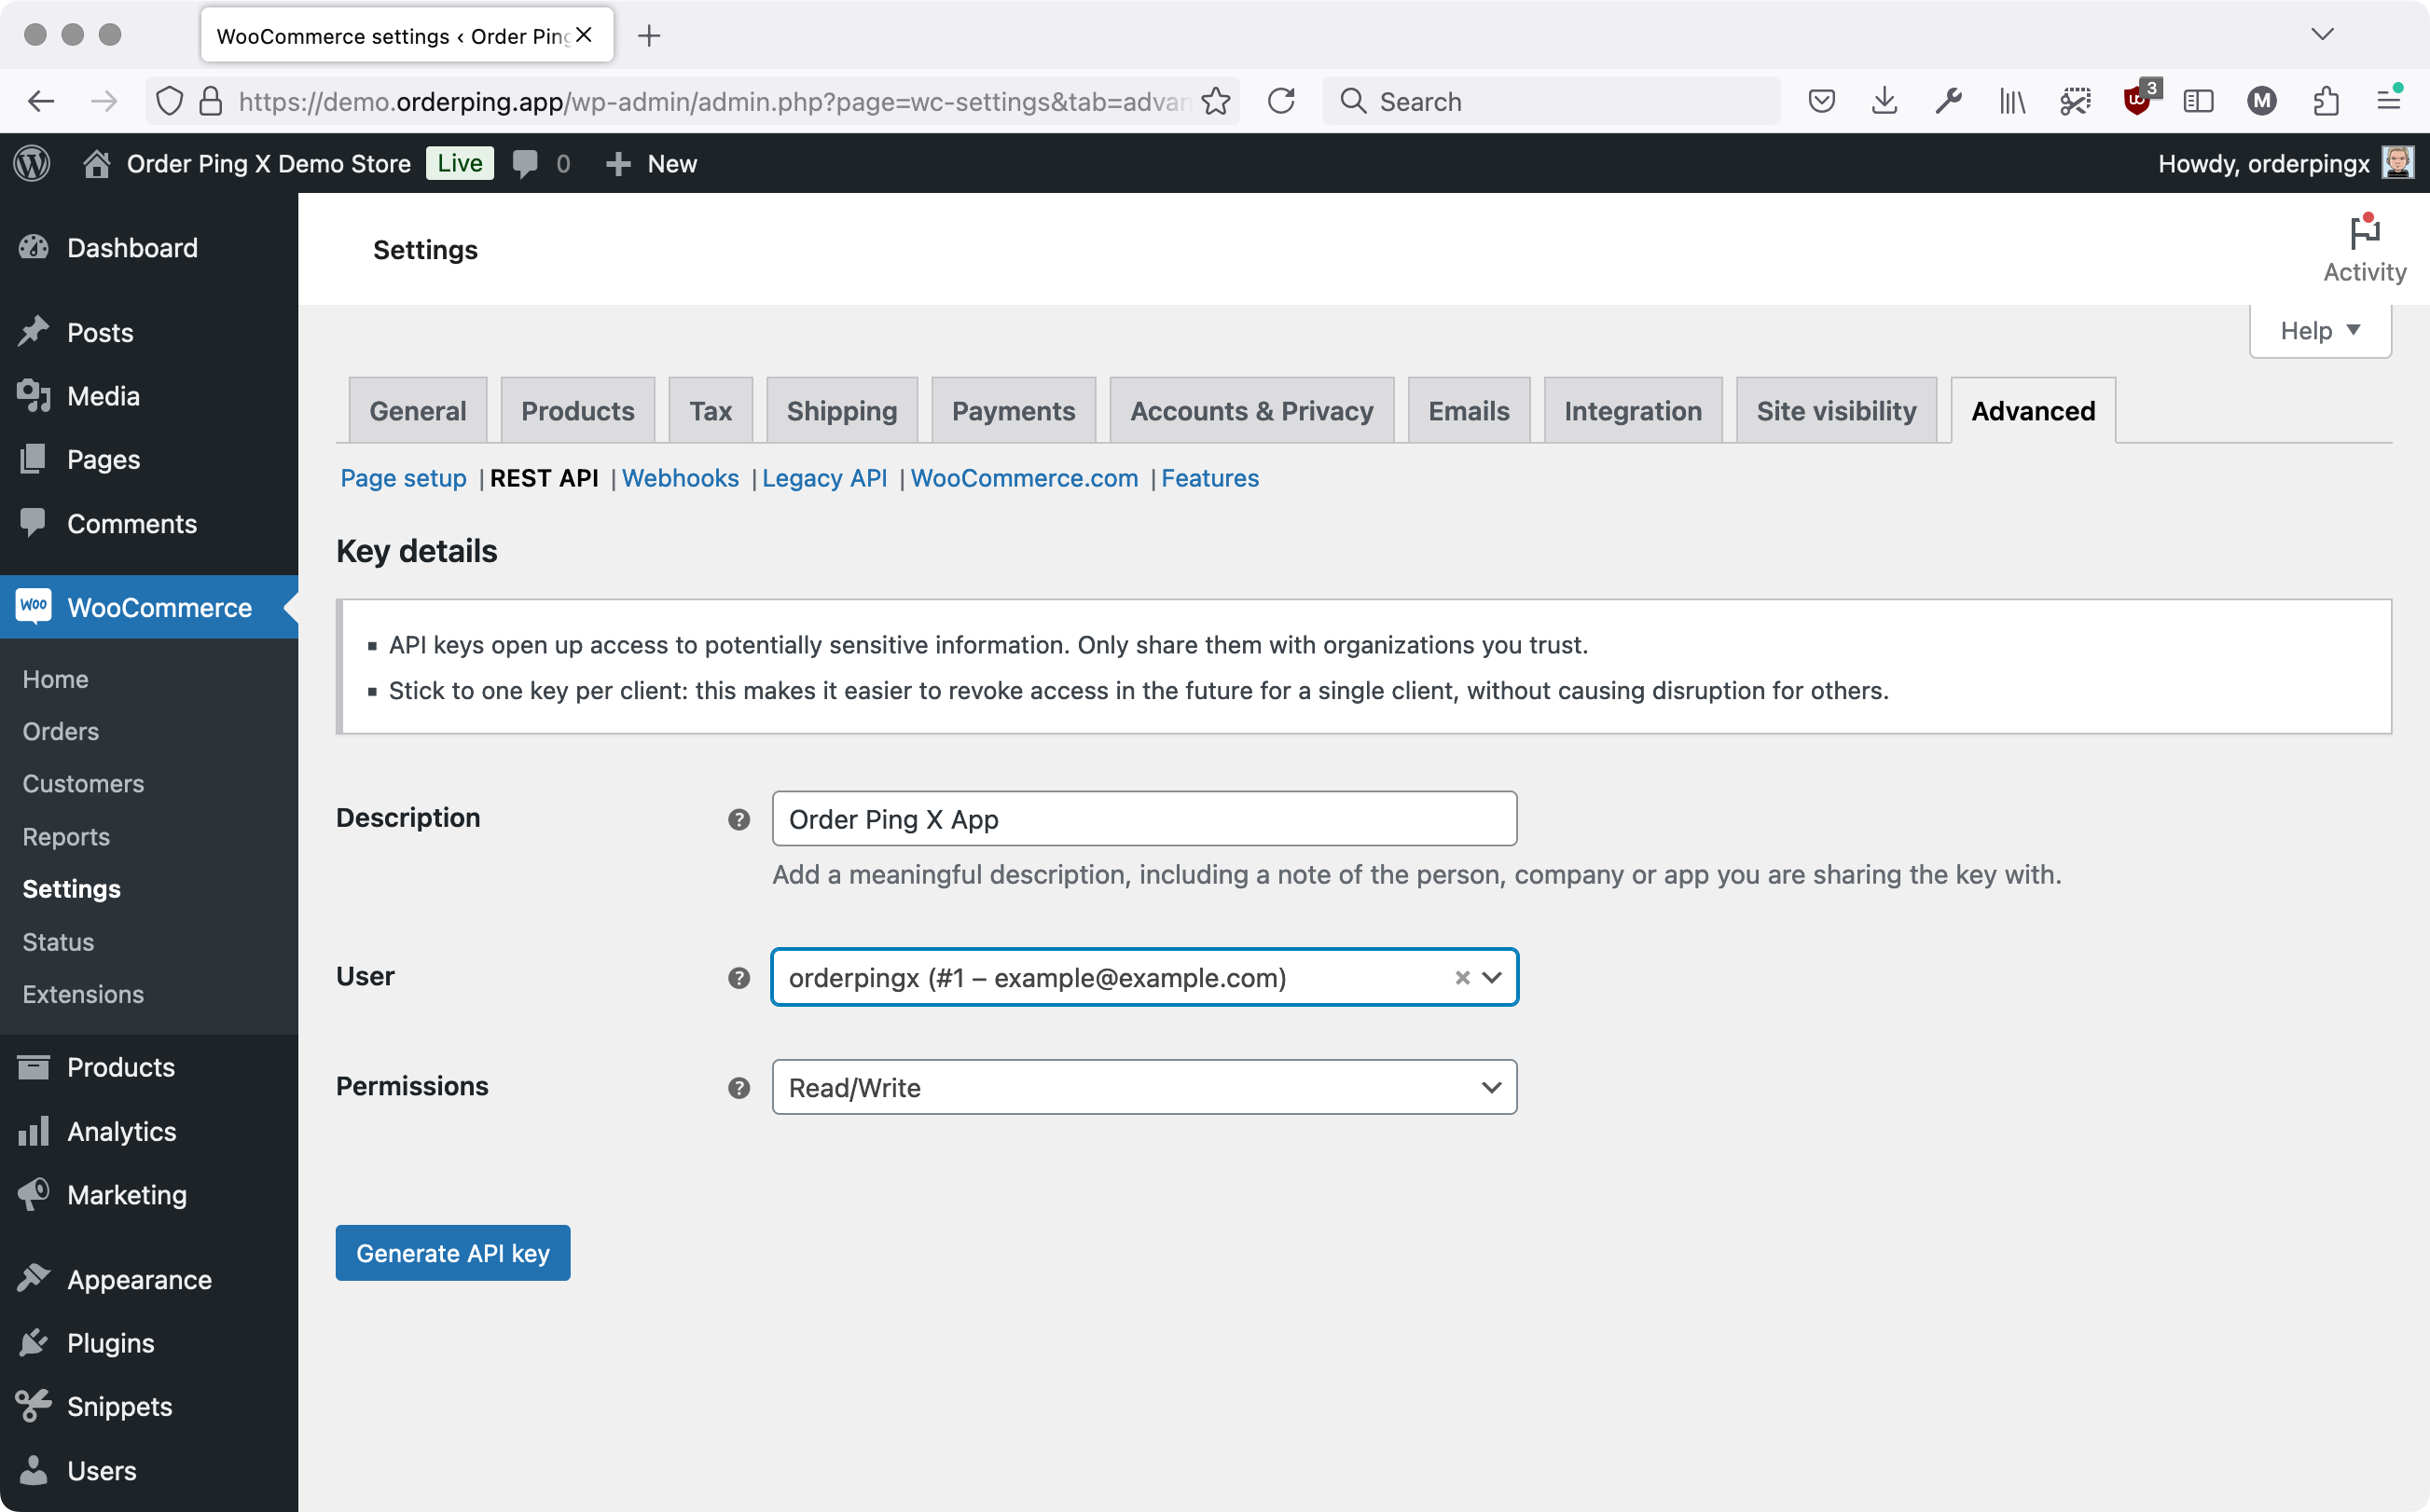
Generate the REST API keys
Follow these steps to generate credentials on the REST API page:
- Provide a description for your API key, e.g. “Order Ping X App”.
- Select a user from the dropdown menu. The admin account is generally recommended for this purpose.
- Set permissions to “Read/Write”
- Click “Generate API Key”
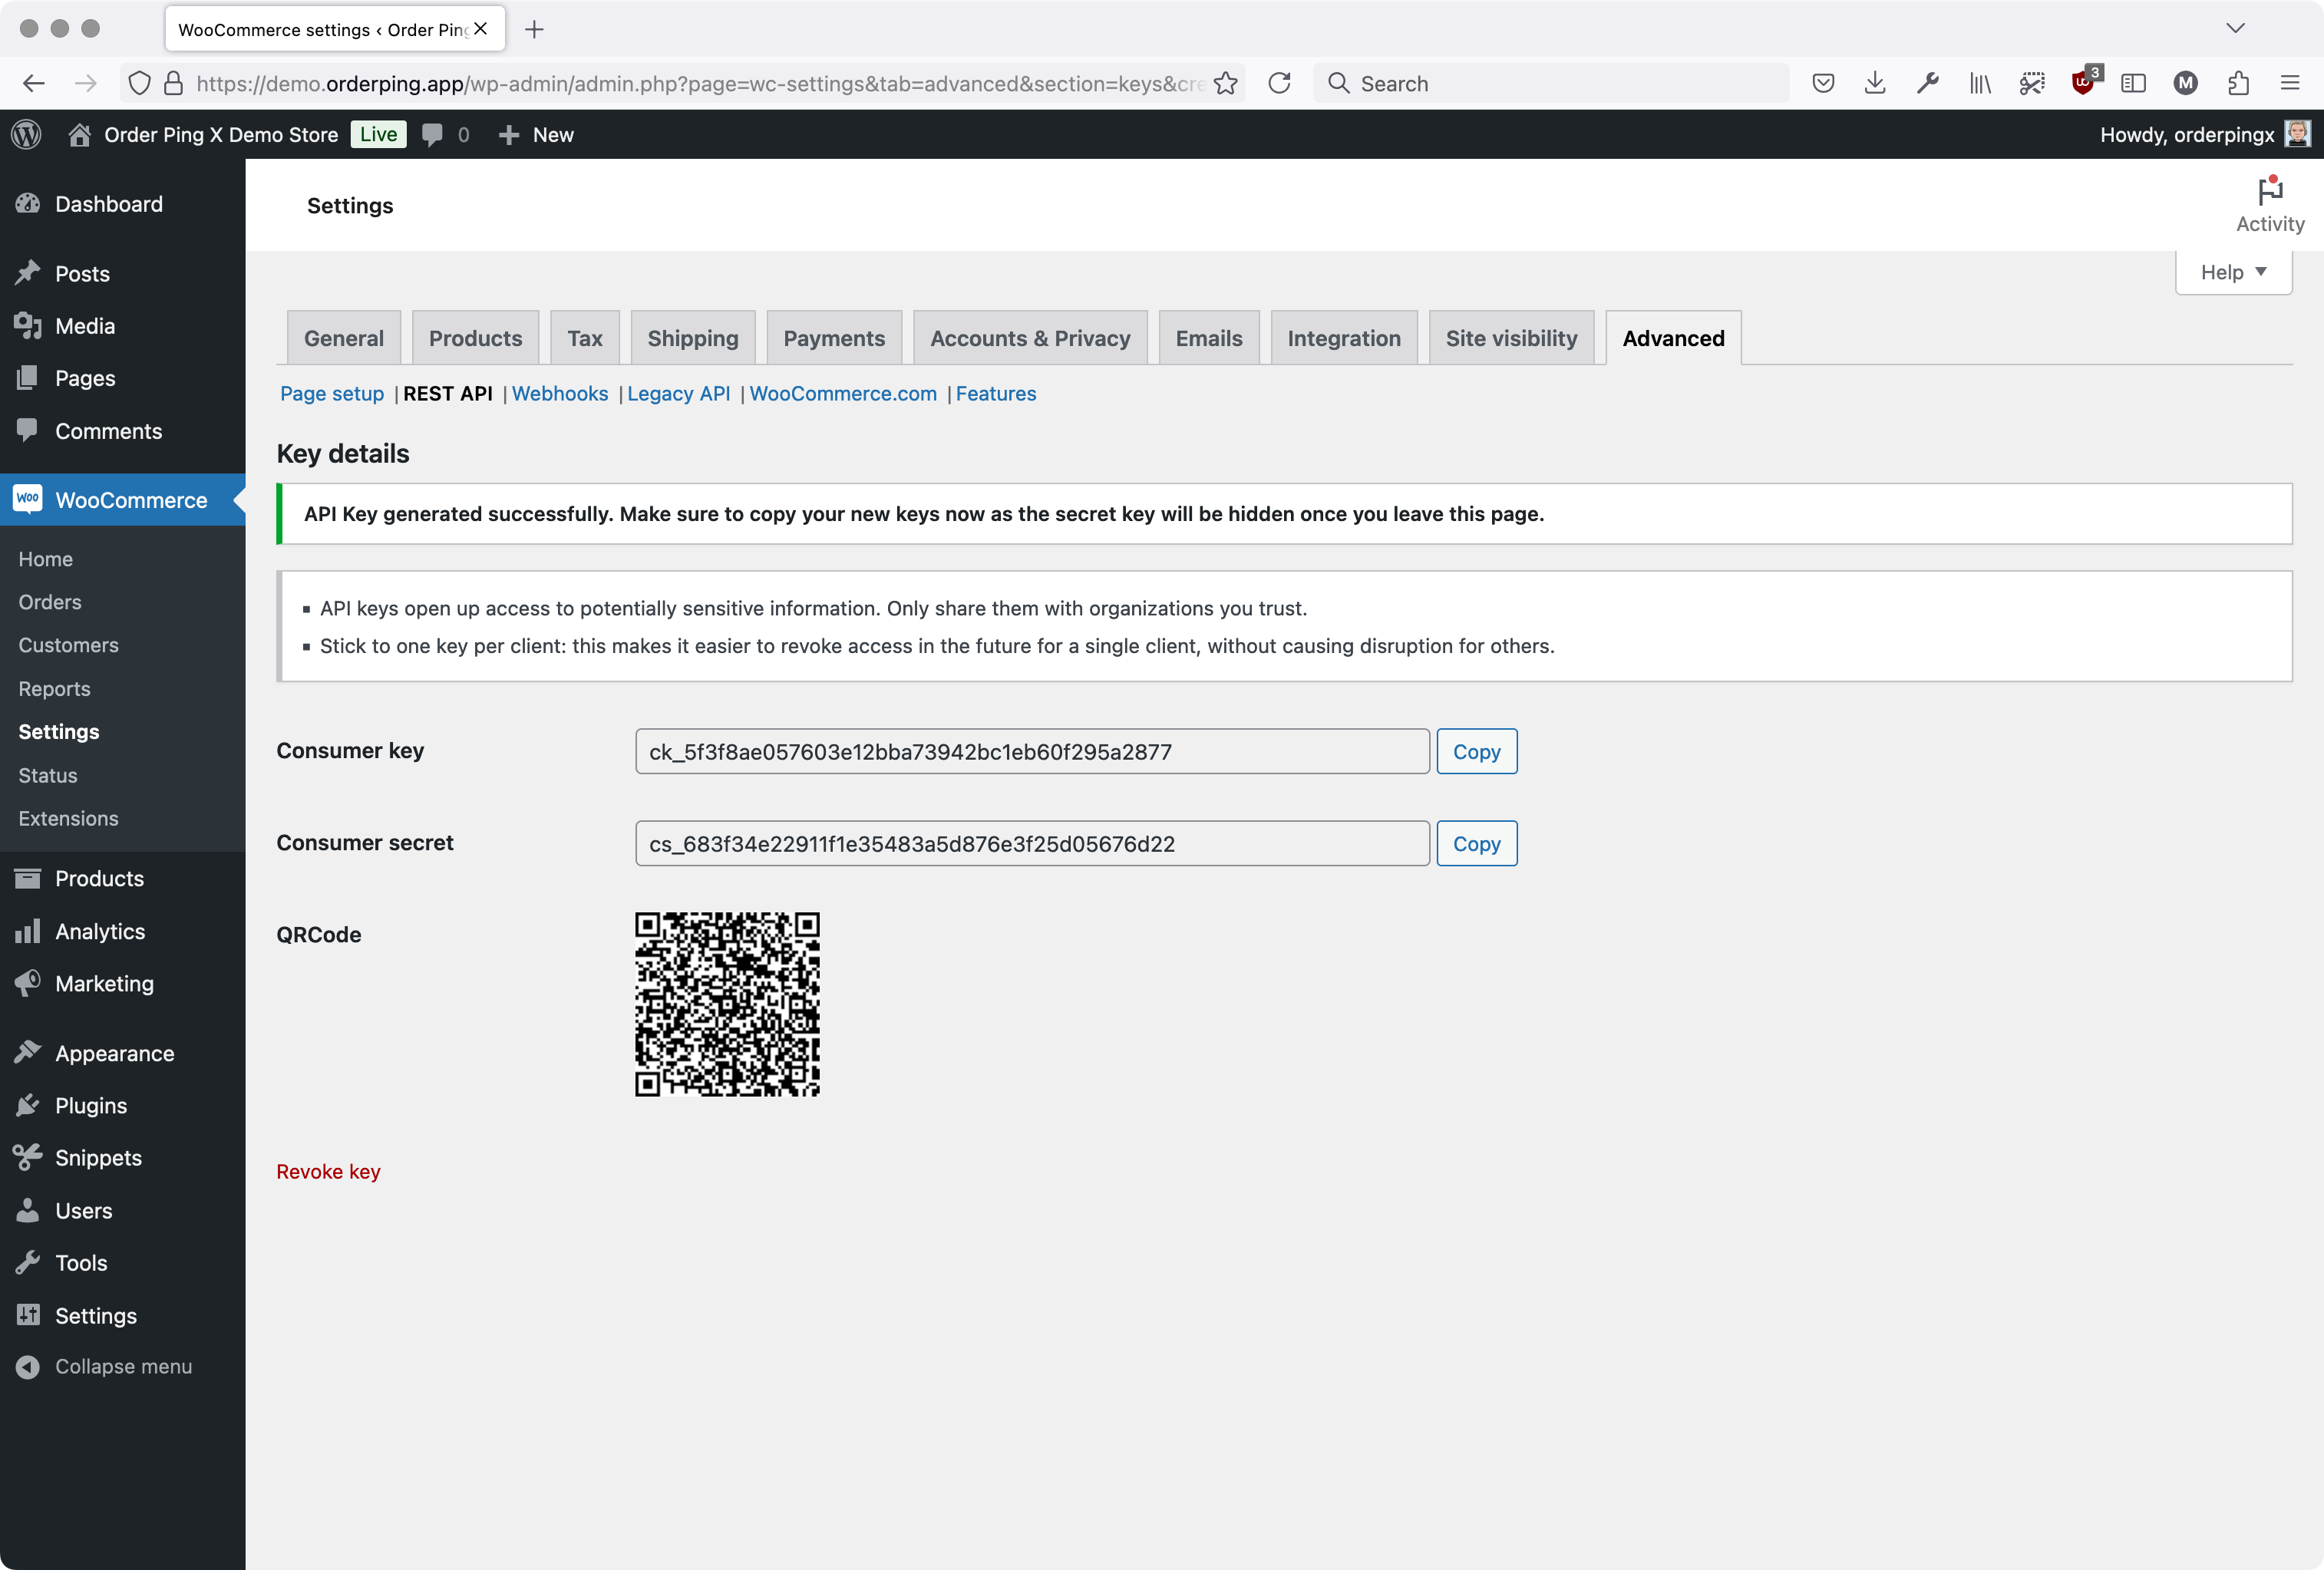
The Consumer Key and Consumer Secret should now show up in the admin dashboard. Make sure to copy & paste them to the dedicated input fields, since the keys will not be revealed again.
Test connection
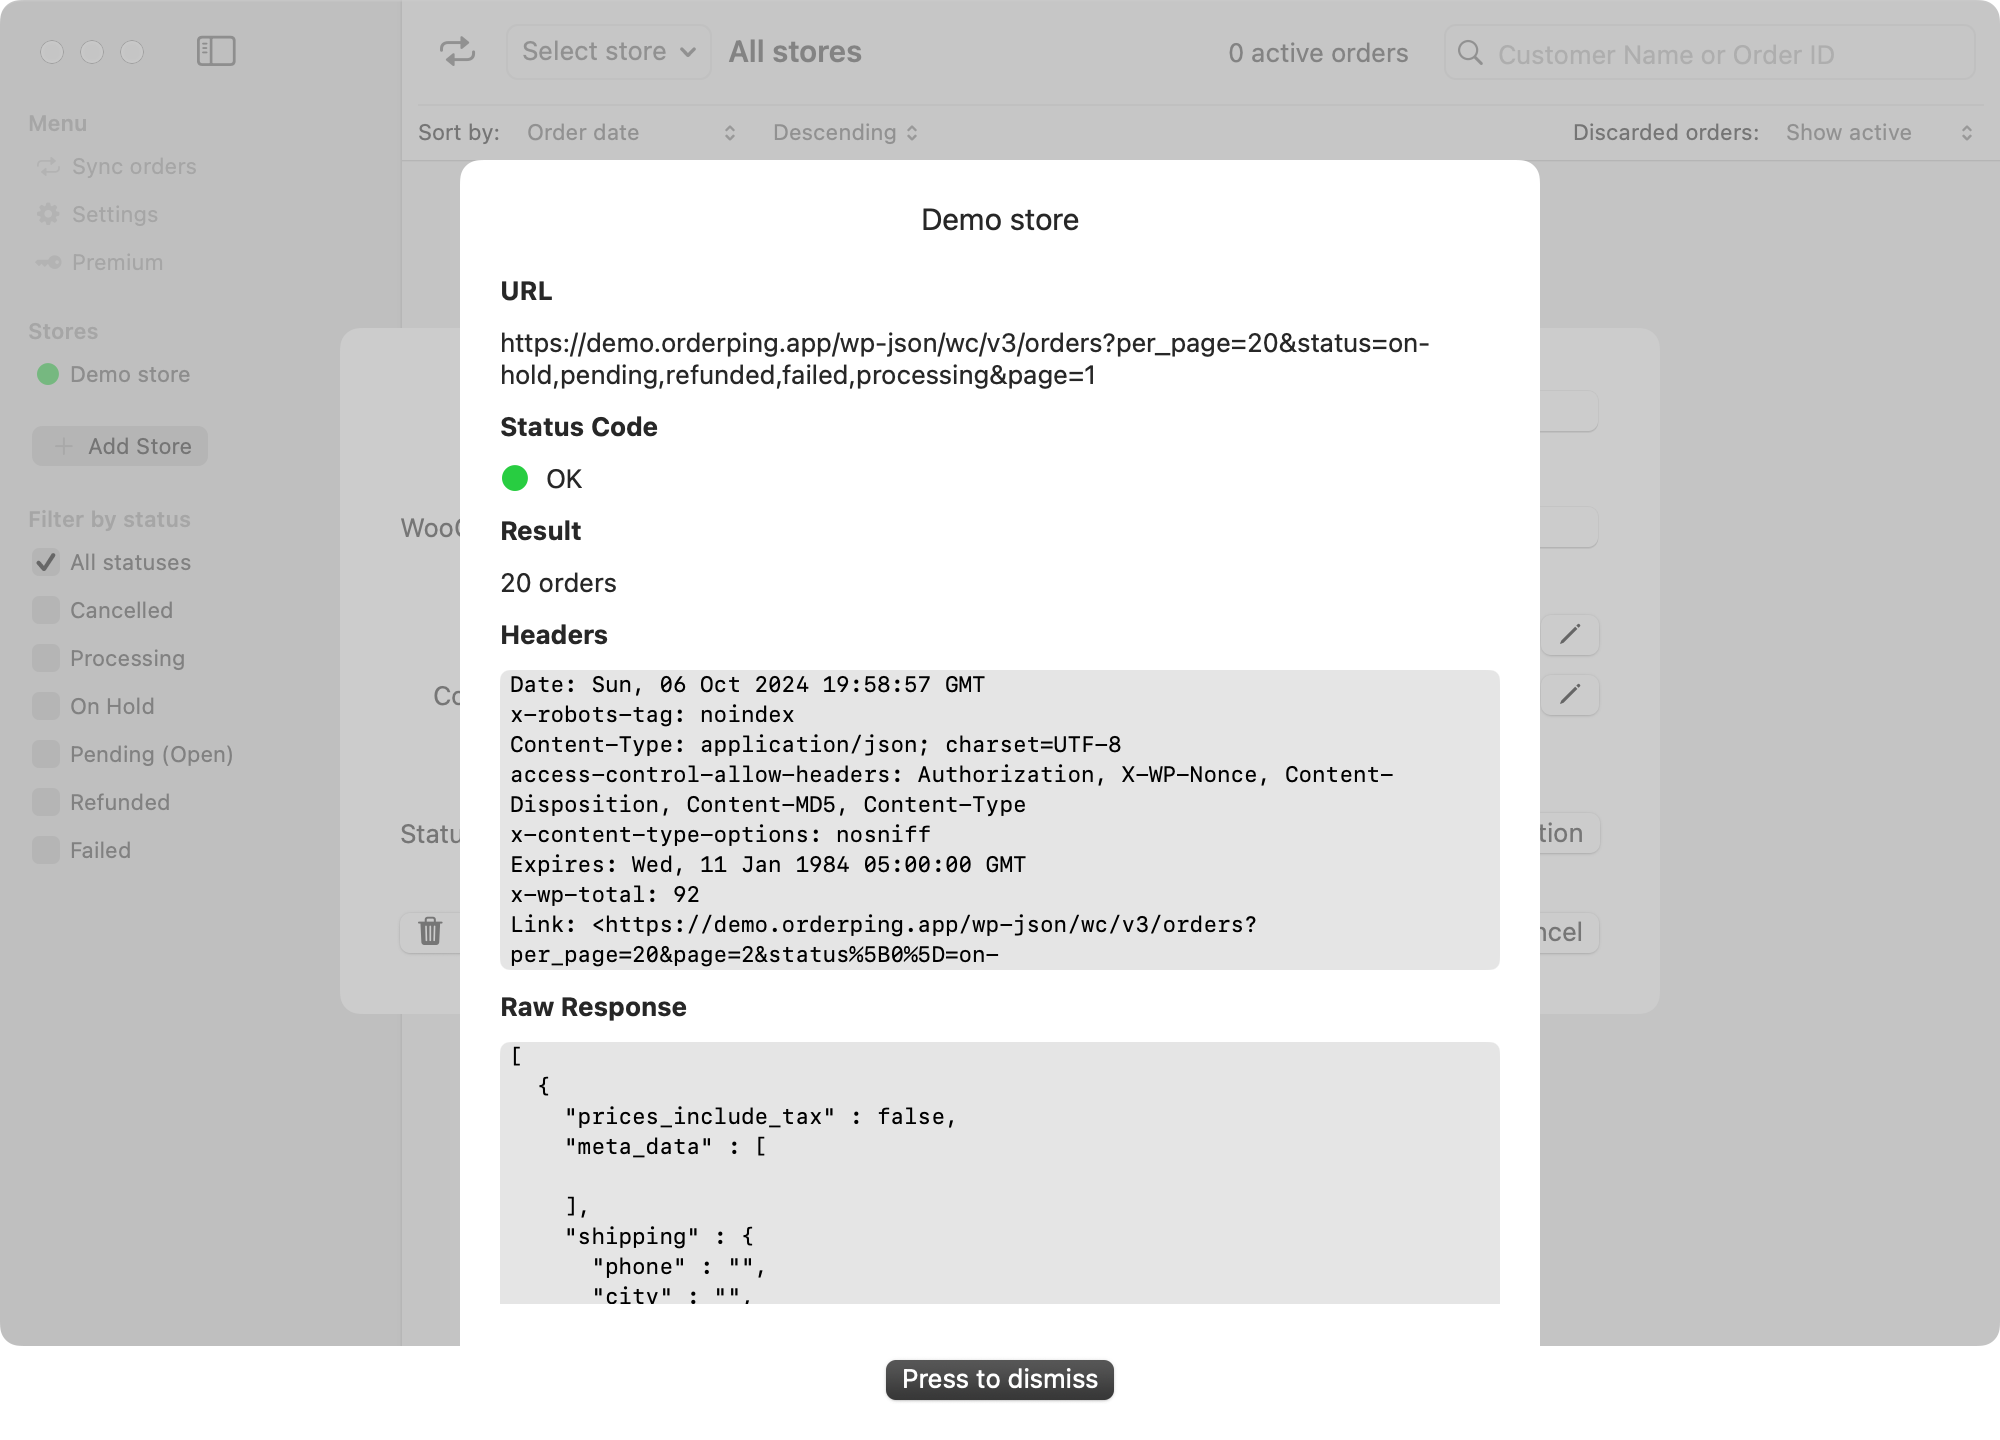
After entering all the required information, click the “Test connection” button to verify that the app can successfully connect to your WooCommerce store.
If the connection is successful, the status indicator will turn green.
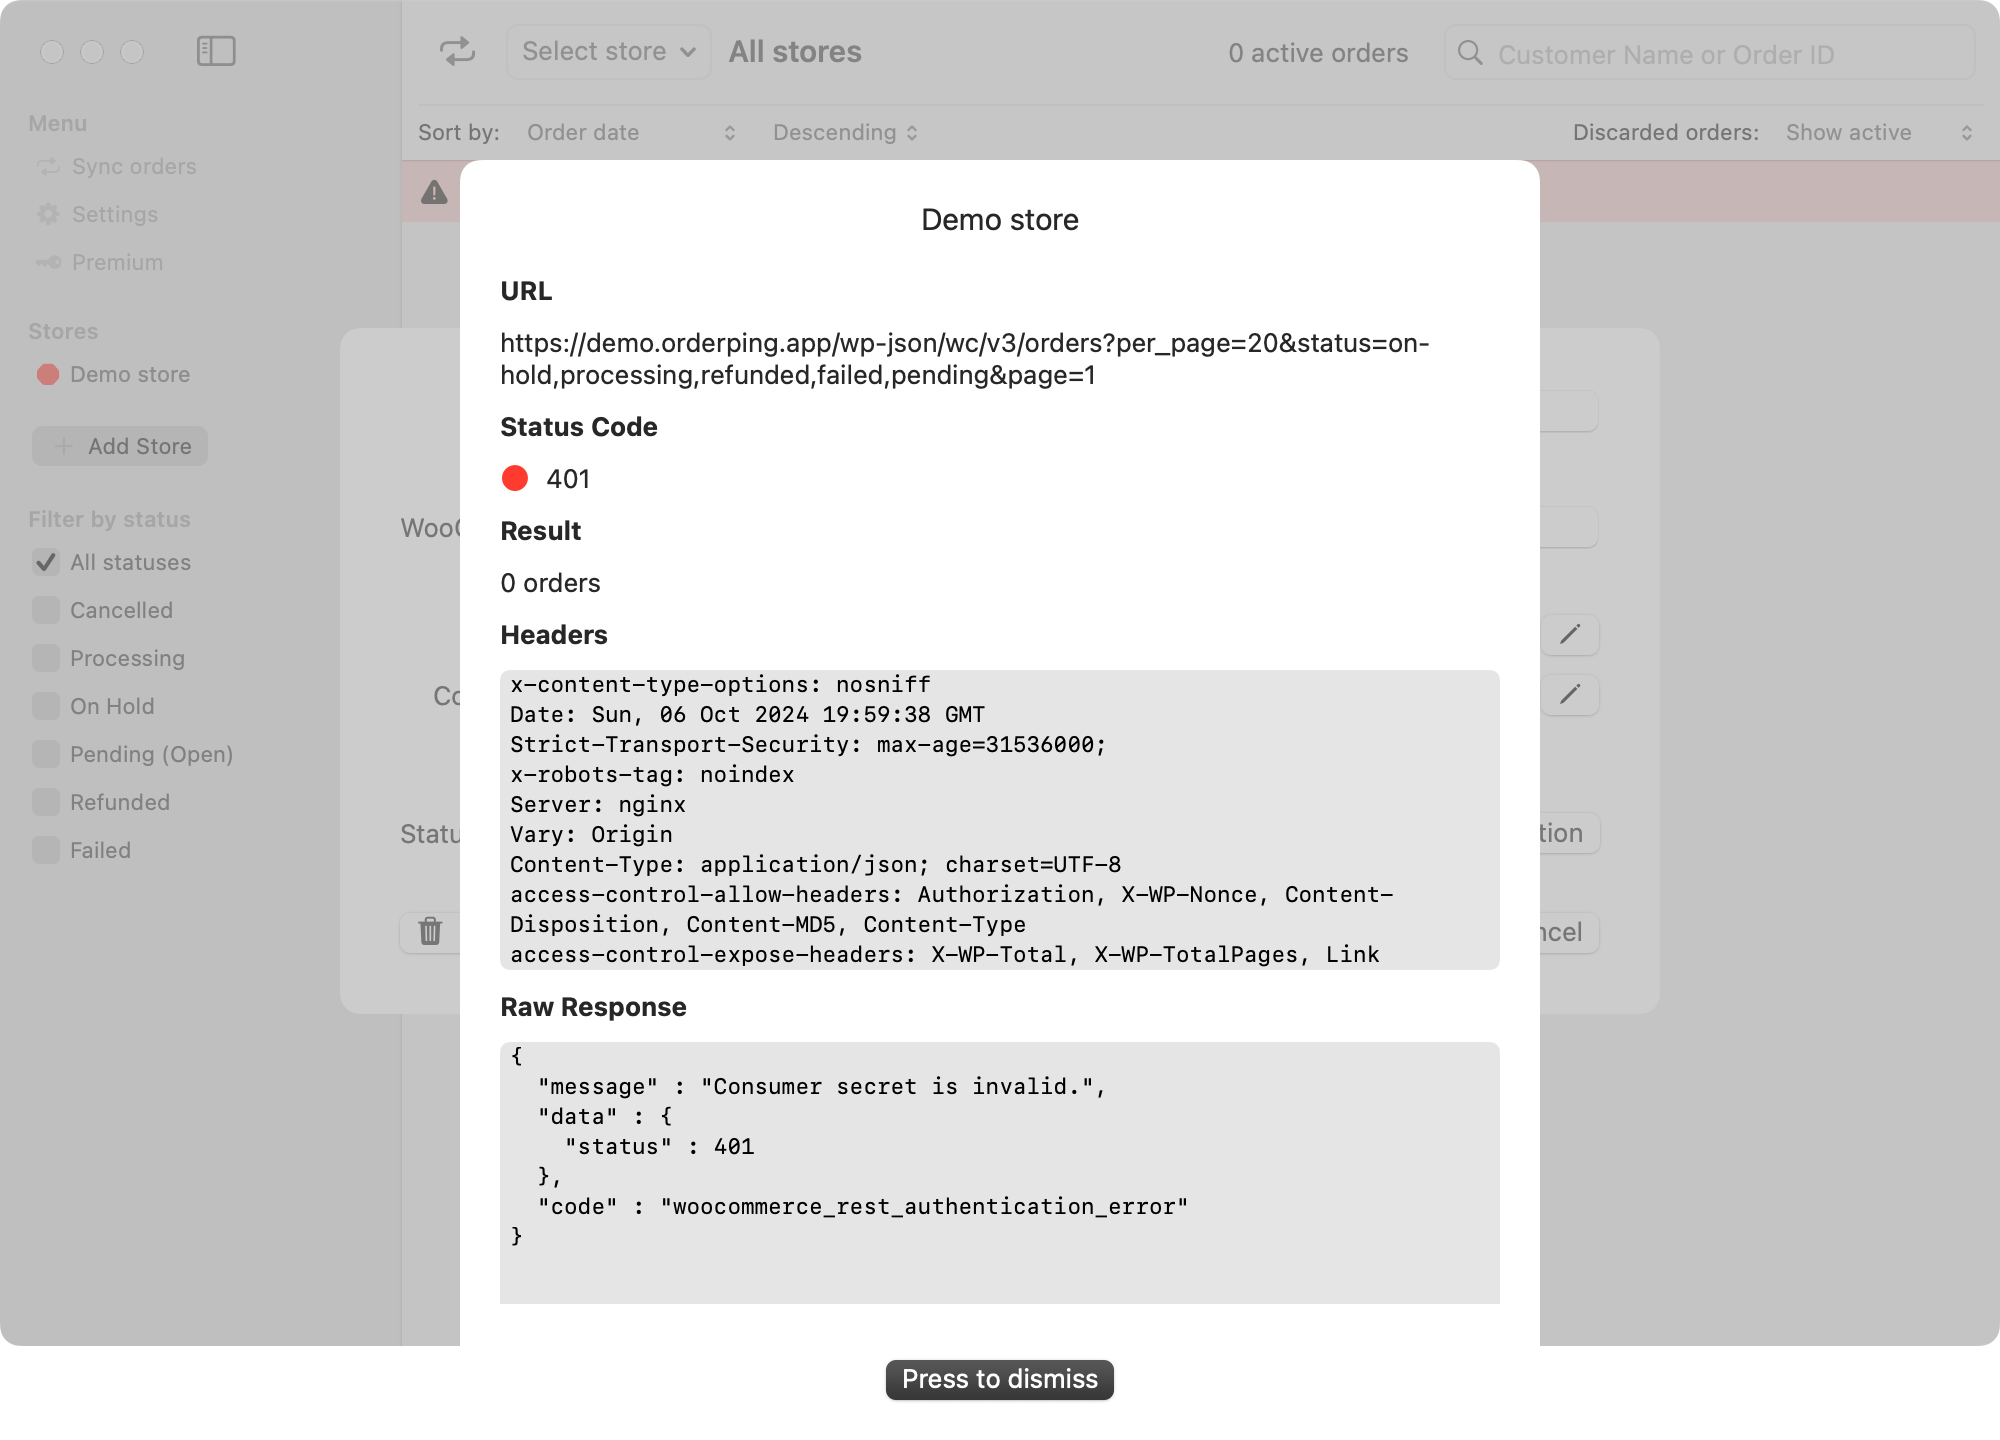
If there is any issue (like an invalid URL), the status indicator will be red, and additional error message will be displayed.
Activate the store
Once you have finished configuring the store, click the “Save” button to add it to your account.
No other action is required. Your active orders (if you have any) will automatically download from your store after the time period you set in the app settings.
If needed, you can also manually sync your store’s orders by clicking the “Reload orders” button.